Contents of this chapter
1. Create a New Project2. Install Entity Framework
3. Add Model Class
4. Create Context Class
5. Add Scaffolded Item into Controller
6. Insert a Link on Home Page
7. Run your Project
In this tutorial, I will show you how to start with Entity Framework – Code First approach. I have added all the steps in order to minimize complexion and keep it easy. Don’t worry, once you learn how to use EF Code First Model, later you will know everything about it. Just focus on your first EF Code First project.
Create a New Project
Start a New MVC Project and Give Project Name EF_CodeFirstModel.
1 Open Visual Studio. Go to File > New > Project.2 Select Web in the left panel and then select ASP.NET Web Application (.NET Framework) from middle panel. Give Project Name EF_CodeFirstModel and click OK.
3 Select MVC in template window and change authentication to No Authentication and click OK.
Start A New ASP.NET Web Application (.NET Framework) Project
Install Entity Framework
Next step is Install Entity Framework. It is very easy. Right click on your project EF_CodeFirstModel in solution explorer and click on Manage NuGet Packages. Browse for Entity Framework and click on Install button to install it.
Here, is a detailed guide to installing Entity Framework into your project.
Installing Entity Framework 6 Into Your ProjectAdd Model Class
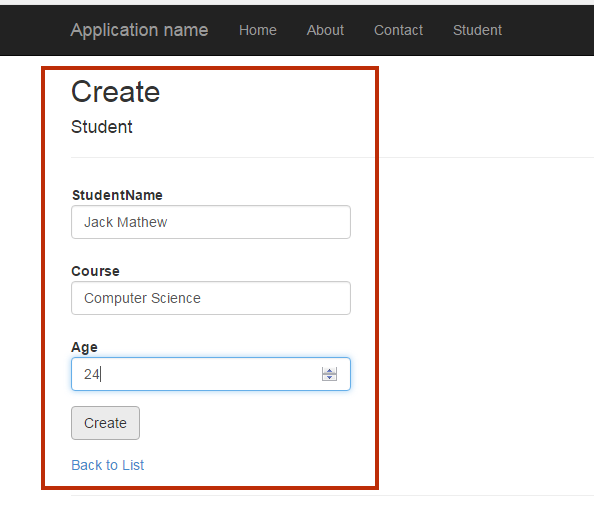
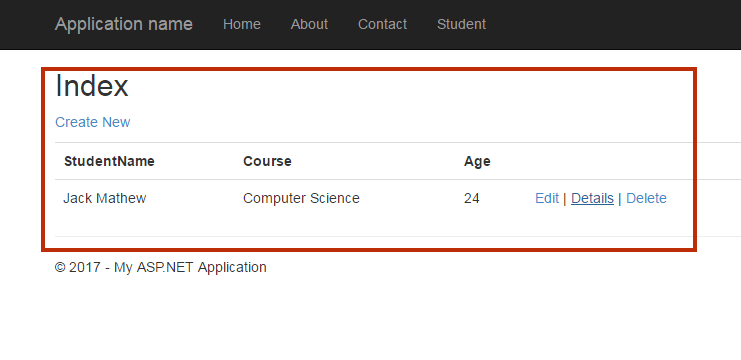
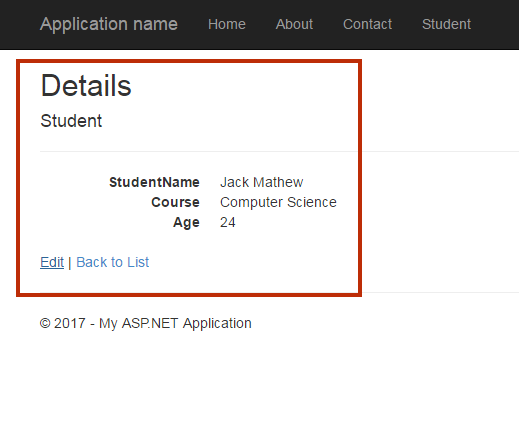
Now we will create a model class. This model class will be converted into database and table. Here, I am going to create a model that will store and manage data from student table.
Step 1:
Student.csStep 2:
Student.cs model class.using System;
using System.Collections.Generic;
using System.Linq;
using System.Web;
namespace EF_CodeFirstModel.Models
{
public class Student
{
public int ID { get; set; }
public string StudentName { get; set; }
public string Course { get; set; }
public int Age { get; set; }
}
}
Create Context Class
Context class is a very important part of Entity Framework. In a simple word, context class makes a bridge between your application and database. This context class is also responsible for managing data into a table like insert, update, delete and search.
Step 1:
StudentContext.cs.Step 2:
StudentContext.csusing System.Data.Entity;
namespace EF_CodeFirstModel.Models
{
public class StudentContext : DbContext
{
public StudentContext() : base("StudentDatabase")
        {
        }
public DbSet<Student> Students { get; set; }
}
}
Explanation:
1. The classStudentContext Inherit the DBContext class features.public class StudentContext : DbContext
2. Pass Database name in a constructor. This name will be used when EntityFramework will create a database for you. If you don’t provide database name then EF will automatically create a database using the name of your project name.
public StudentContext() : base("StudentDatabase")
{
}
3. Created object Students for
DbSet<Student>. This object will be used as a bridge between your application and DbSet<Student>.
public DbSetStudents { get; set; }
Build Your Application
Press Ctrl + Shift + B to build your application. Building your project makes all the class connect together with Entity Framework.
Add Scaffolded Item into controller
Adding Scaffolded Item into controller means, this item will automatically create controller and views according to your Model class.
Step 1:
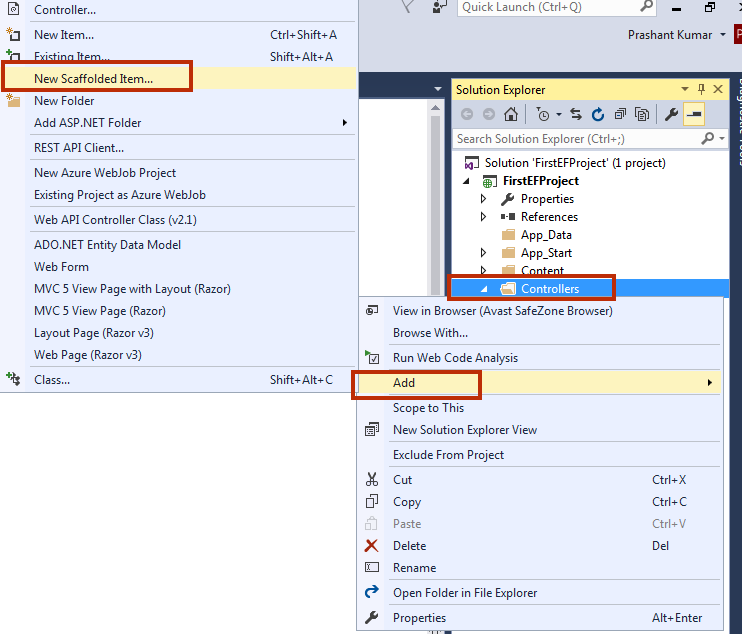
Step 2:

Step 3:
Student (EF_CodeFirstModel.Models) as Model class name and StudentContext (EF_CodeFirstModel.Models) as Data context class name. Give Controller name StudentController and click Add.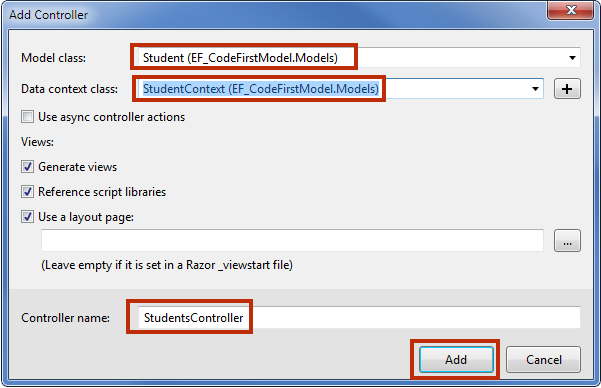
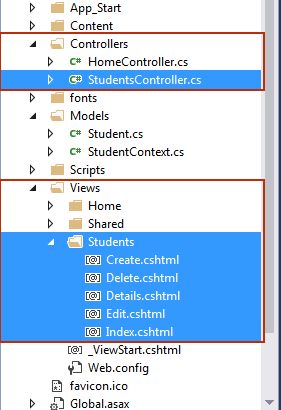
Now, you will notice that,
A
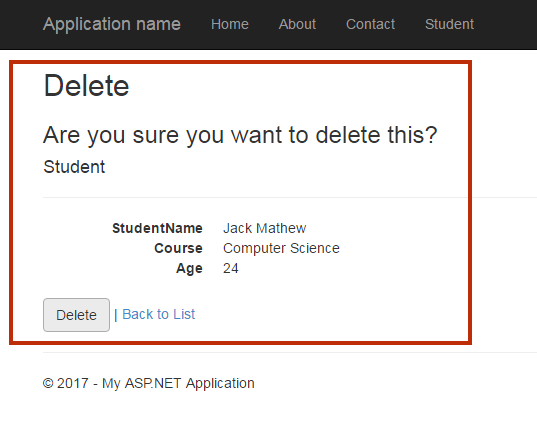
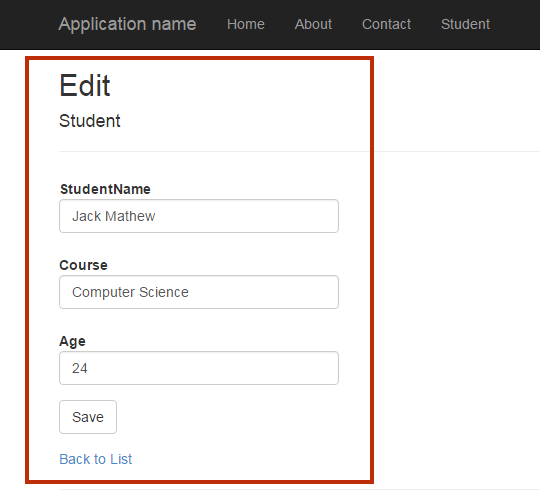
StudentsController.cs is automatically added in Controllers folder. Inside View Folder, Students Views are automatically created with the following page.
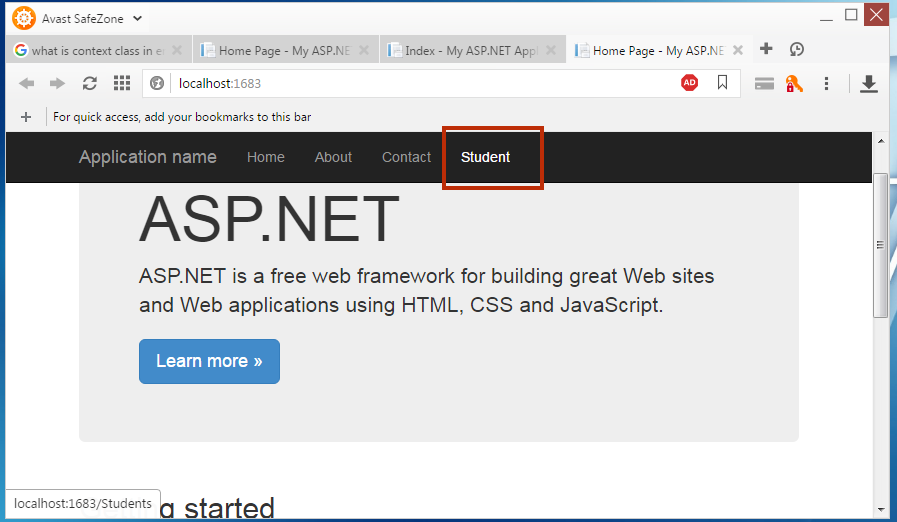
Insert a Link on Home Page
This is the final step. Your project is ready to be launched but before launching it insert a navigation link on the Home Page.
Step 1:
Step 2:
<div class="navbar-collapse collapse">
                <ul class="nav navbar-nav">
                    <li>@Html.ActionLink("Home", "Index", "Home")</li>
                    <li>@Html.ActionLink("About", "About", "Home")</li>
                    <li>@Html.ActionLink("Contact", "Contact", "Home")</li>
                    <li>@Html.ActionLink("Student", "Index", "Students")</li>
                </ul>
            </div>
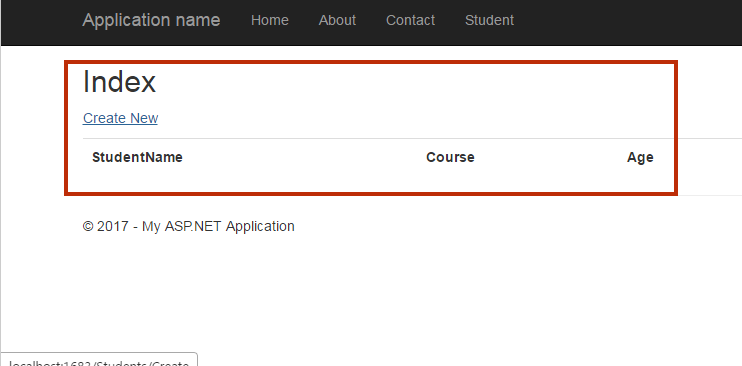
Run your Project
Congratulations! Your project is ready to run. You might be a wonder when you see the output. However, we will discuss all the point later but now run your project by pressing F5.
Output
Summary
In this tutorial, you learned Entity Framework Code First approach. However, it is very basic chapter but I hope you learned how to use Code First Model. Now, there are following questions are there which must be running on your mind.
- Where the database is created by EF and how to use your own connection string?
- What if you need to add an extra column to a table or change table definition?
- How to determine column datatypes and size, foreign key and primary key in EF Code First?
- How to put validation on table column and View Page using Model Class?
- How to work with multiple tables in Entity Framework?
In the next chapter, you will learn EF Code First (Existing Database) Approach with Example.