- What is View in MVC?
- How to add and design View Page?
What is View Page?
View page or View Template is pure HTML page that generates HTML response to client. It is a designer page that gets rendered on the user screen. Basically View Page contains all the design and layouts. A view page may include Razor syntax to implement small c# code direct in the page. In this tutorial I will explain all these things with complete programming example.
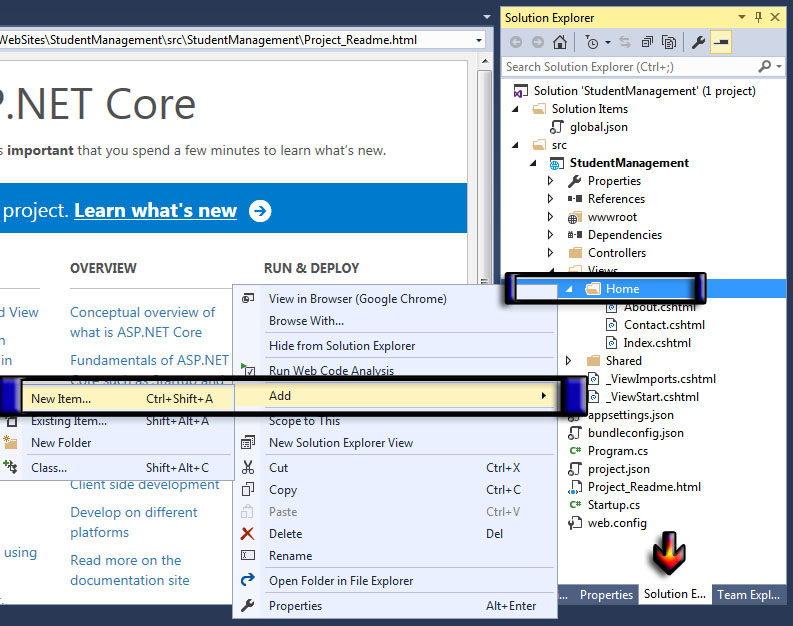
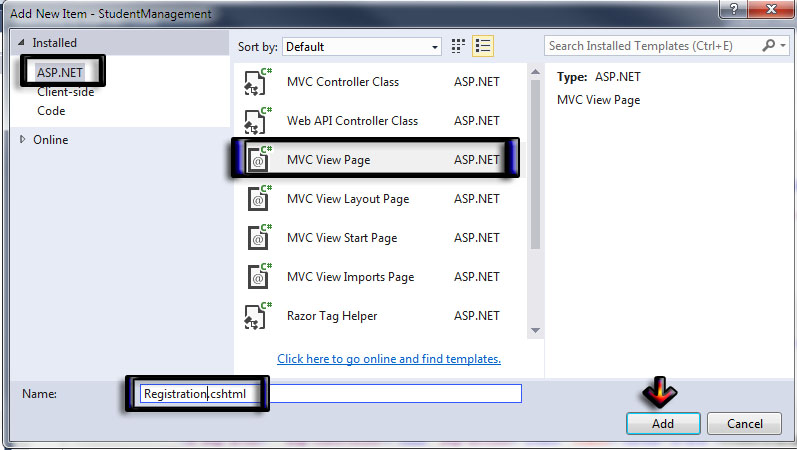
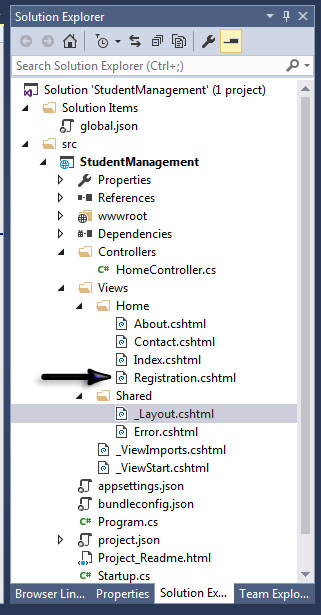
Adding a View Page
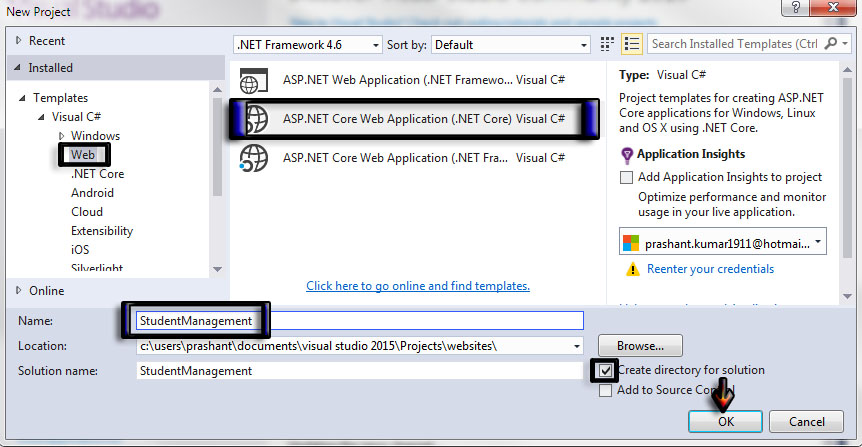
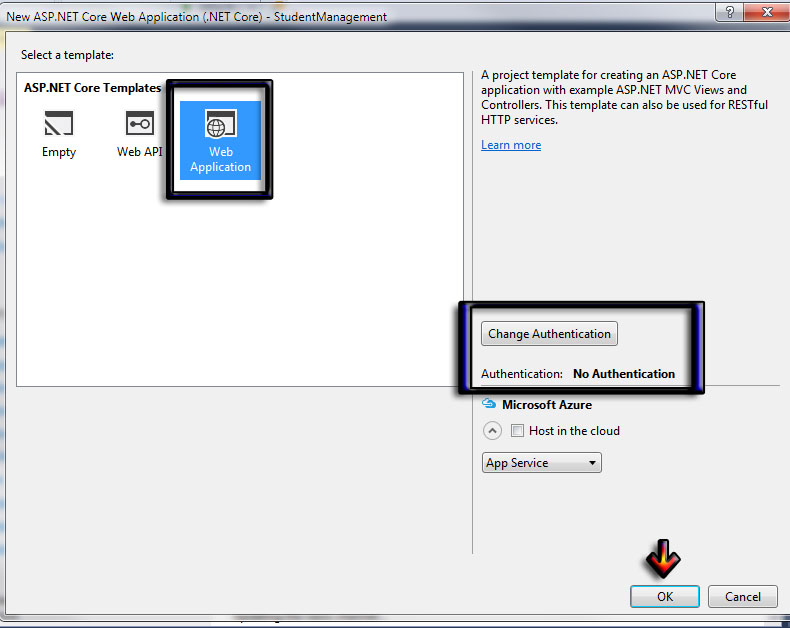
I am going to start from very beginning and if you are here means you haven’t lost anything. I am going to create a New ASP.NET Core Project StudentManagement in which there will be a form to accept user data and save it to database. In this chapter I will design only View Page. Coding will be described in next chapter.
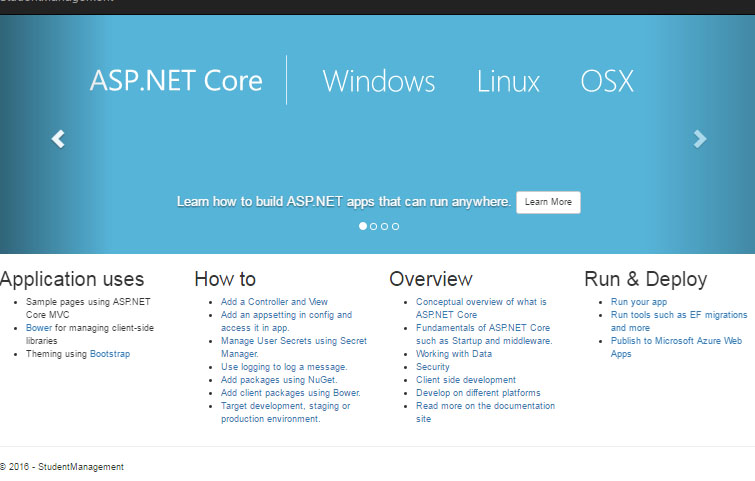
F5 and Ctrl + F5 : F5 allows you to run your project in debug mode. It means you cannot make any modification while running your project. Ctrl + F5 run your project without debugging, so you can simply change your code and save then refresh the output page for result. Most of the programmers prefer to use Ctrl + F5 to run the project and Ctrl + Shift + B for build the project.

@{
ViewData["Title"] = "Student Registration";
}
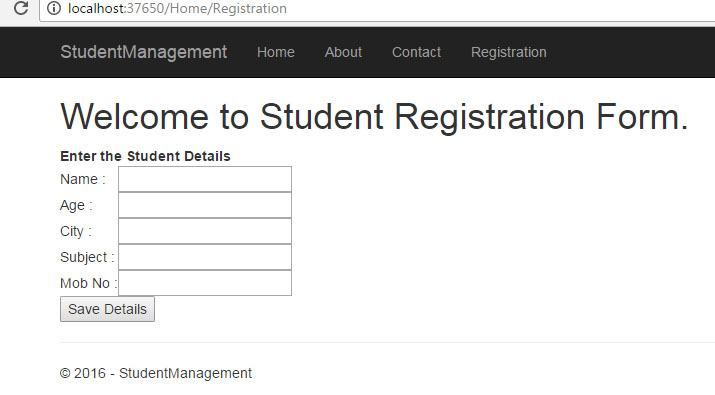
<h1>Welcome to Student Registration Form.</h1>
<strong> Enter the Student Details</strong><br />
@using (Html.BeginForm())
{
<table>
<tr>
<td>Name : </td>
<td><input id="SName" type="text" /></td>
</tr>
<tr>
<td>Age : </td>
<td><input id="SAge" type="text" /></td>
</tr>
<tr>
<td>City : </td>
<td><input id="SCity" type="text" /></td>
</tr>
<tr>
<td>Subject : </td>
<td><input id="SSub" type="text" /></td>
</tr>
<tr>
<td>Mob No : </td>
<td><input id="SMob" type="text" /></td>
</tr>
<tr>
<td colspan="2"><input id="Submit" type="button" value="Save Details" /></td>
</tr>
</table>
}
using Microsoft.AspNetCore.Mvc;

namespace StudentManagement.Controllers
{
    public class HomeController : Controller
    {
        public IActionResult Index()
        {
            return View();
        }

        public IActionResult About()
        {
            ViewData["Message"] = "Your application description page.";

            return View();
        }

        public IActionResult Contact()
        {
            ViewData["Message"] = "Your contact page.";

            return View();
        }

        public IActionResult Registration()
        {
            return View();
        }

        public IActionResult Error()
        {
            return View();
        }
    }
}
<div class="navbar-collapse collapse">
 <ul class="nav navbar-nav">
   <li><a asp-area="" asp-controller="Home" asp-action="Index">Home</a></li>
   <li><a asp-area="" asp-controller="Home" asp-action="About">About</a></li>
   <li><a asp-area="" asp-controller="Home" asp-action="Contact">Contact</a></li>
   <li><a asp-area="" asp-controller="Home" asp-action="Registration">Registration</a></li>
 </ul>
</div>
This is the very basic chapter that teaches you how to add View Page in ASP.NET Core MVC. Just adding a view page is not enough and you must know how to use a controller to write logic and rendering view page. In the next chapter, you will learn about Controller in ASP.Net Core MVC.