Create a .NET Core App using Visual Studio – Step-by-Step Guide!
👋 Introduction – Let’s Build Something Exciting!
So, you want to Create a .NET Core App using Visual Studio? Awesome! 🎉
.NET Core is lightweight, cross-platform, and powerful. But wait, where do you even begin? 🤔 Don’t worry! I’ll walk you through each step—from setting up your project to running your first “Hello, .NET Core!” app.
By the end of this guide, you’ll have your first .NET Core app up and running! 🚀
📚 What You Are Going to Learn in This Lesson
✔️ How to Create a .NET Core App using Visual Studio ✔️ How to set up project configurations ✔️ How to run your first .NET Core application ✔️ Understanding the basic structure of a .NET Core project ✔️ Modifying and testing simple code
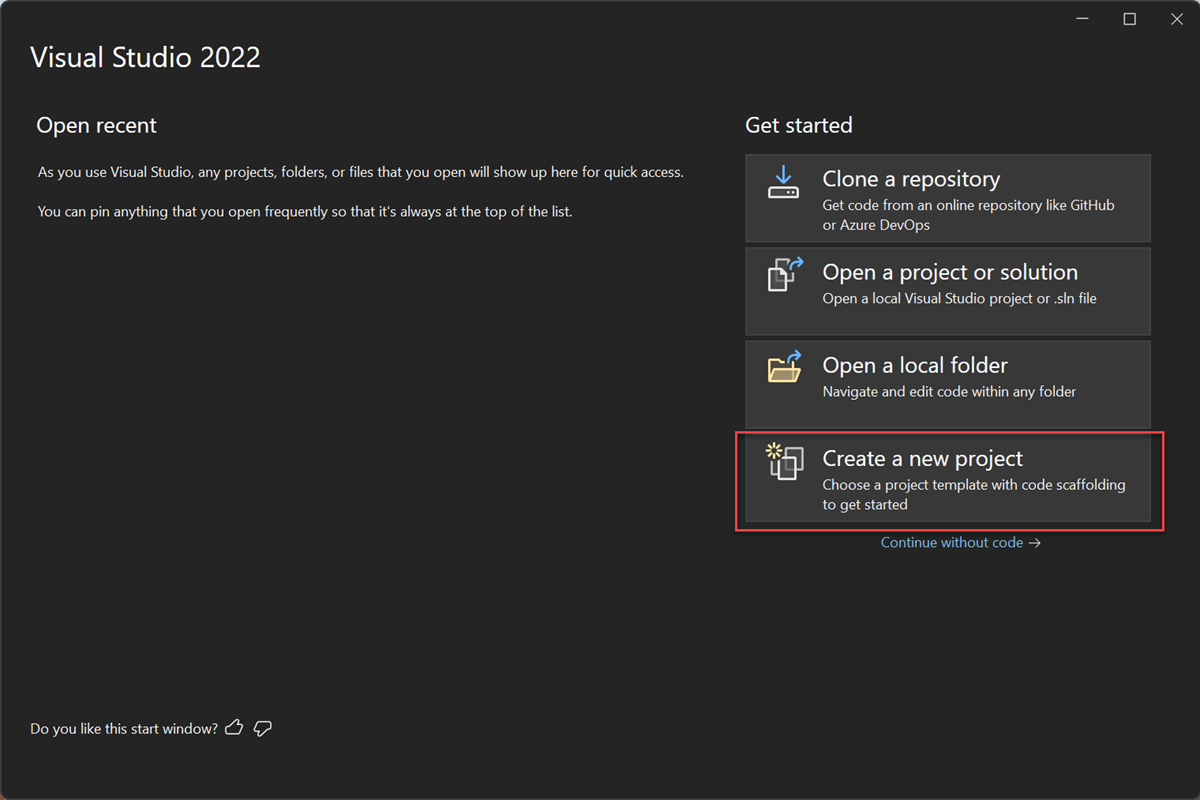
1️⃣ Launch Visual Studio 2022.
2️⃣ Click on “Create a new project”
3️⃣ Search for ASP.NET Core Web App (Razor Pages) template, and then select Next.
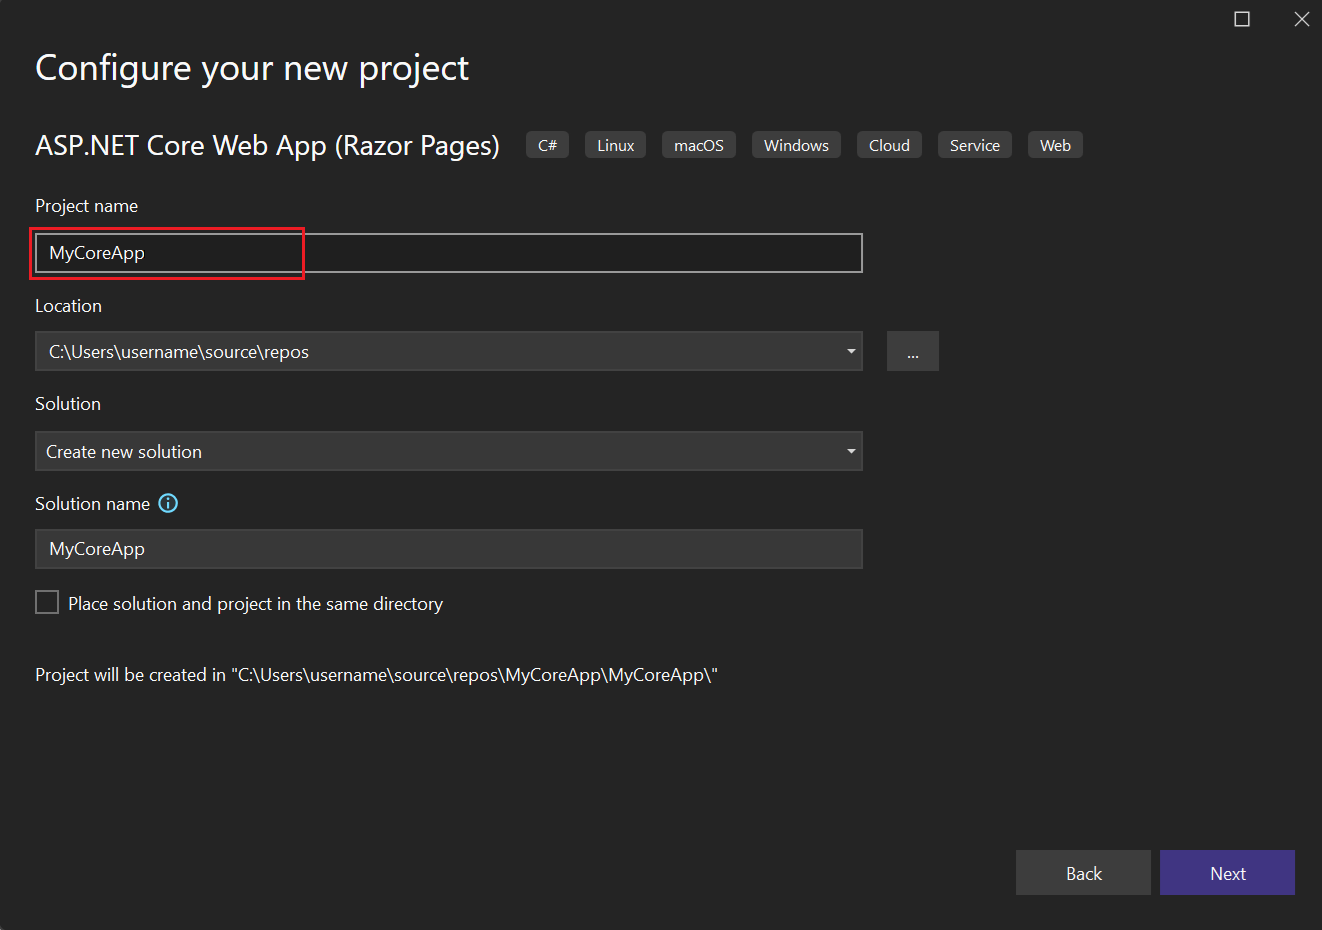
4️⃣ Configure Your Project
Project Name: Give your project a name (e.g., MyFirstDotNetCoreApp)
Location: Choose a folder to save the project
Solution Name: This will match your project name
Click Next
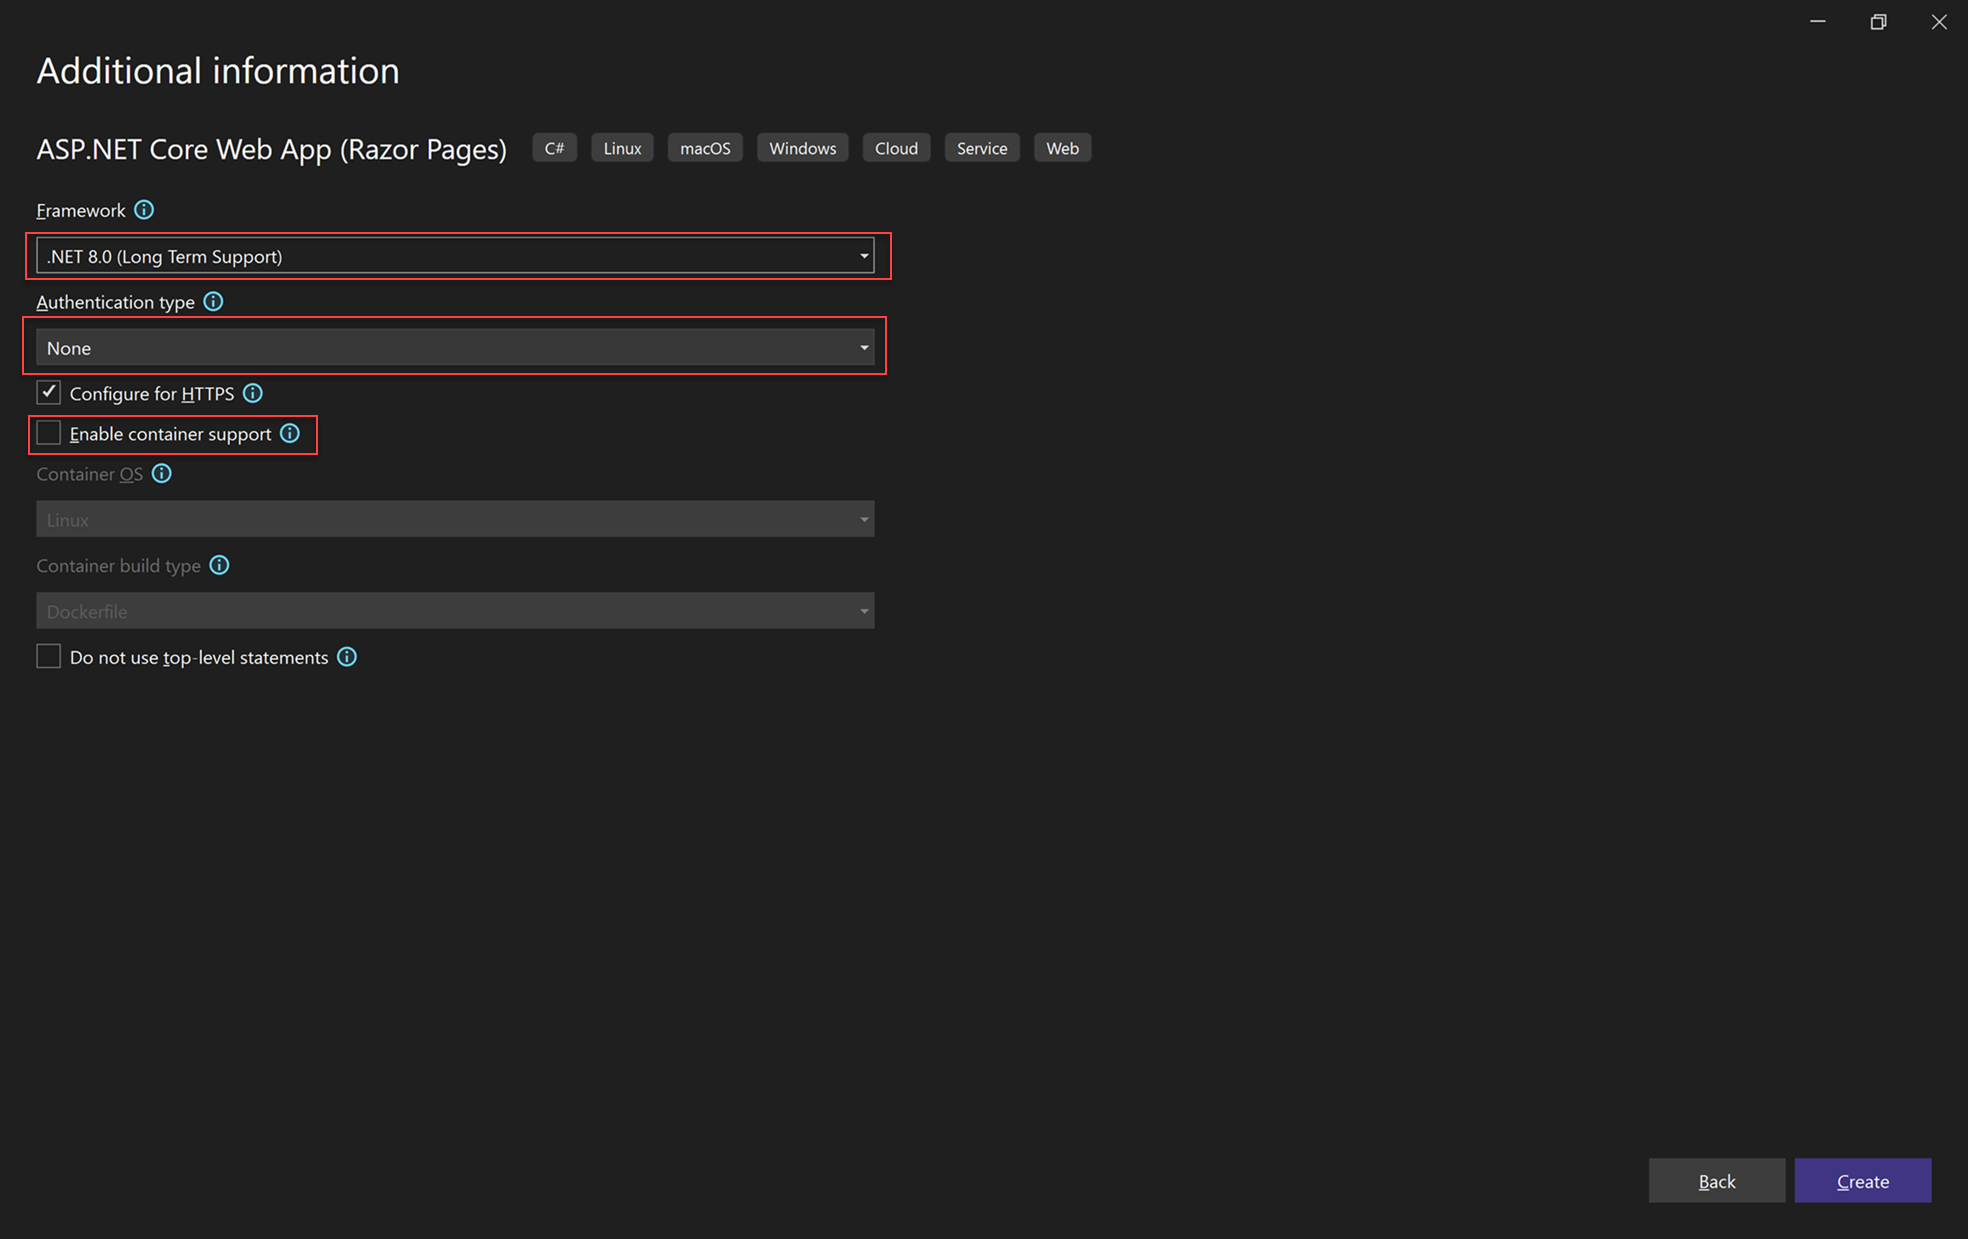
5️⃣ Choose .NET Version
Now, select the .NET Core version you want to use. If you’re using .NET 8.0 or .NET 10.0, pick the latest one. Then, click Create.
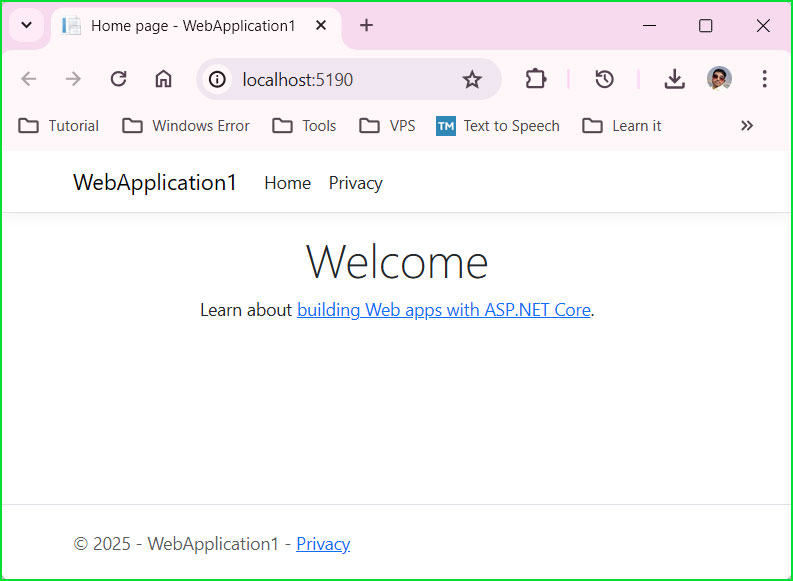
6️⃣ Run Your First .NET Core App
Click on the Run button (▶️) at the top
Or press F5 to start the application
🎉 Success! You’ve just created and run your first .NET Core app!
⏭️ Next What?
You’re doing great! 🎉 You’ve built your first .NET Core app in Visual Studio.
But wait… what if you don’t want to use Visual Studio? What if you prefer a lightweight and minimal setup? 🤔
🔜 In the next chapter, you’ll learn how to Create a .NET Core App using VS Code!