1. What is Cascade Delete in Entity Framework and SQL?
2. Cascade Delete Programming Example
What is Cascade Delete in Entity Framework and SQL?
Cascade delete means deleting all the dependent record when the primary record gets deleted. Let's understand it with an easy example. Consider an example of Customer Registration. When a customer gets registered in a table, some of the records also get stored into the dependent table like their purchases in purchase table. But when management wants to delete the customer records from primary registration table, the records from purchase table should also be deleted. This is called Cascade deletion in Entity Framework or SQL.
In Entity Framework, Cascade Delete is enabled by default and works perfectly when you design entity and map them correctly.
Programming Example
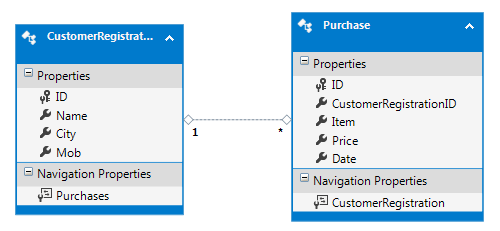
For example, I am creating a simple code first application for customer portal. There are only two pages CustomerRegistration and Purchase. It has one to many relationships that mean the CustomerRegistration will not hold duplicate customer and each customer as only one registration ID. Once the customer is registered, he or she can buy multiple products in Purchase Table.
Start A New ASP.NET Web Application (.NET Framework) Project
Step 2:
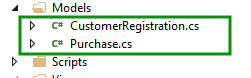
a. CustomerRegistration.cs
using System.Collections.Generic;

namespace CascadeDel.Models
{
    public class CustomerRegistration
    {
        public int ID { get; set; }
        public string Name { get; set; }
        public string City { get; set; }
        public string Mob { get; set; }

        public virtual ICollection<Purchase> Purchase { get; set; }
    }
}
b. Purchase.cs
using System;

namespace CascadeDel.Models
{
    public class Purchase
    {
        public int ID { get; set; }
        public int CustomerRegistrationID { get; set; }
        public string Item { get; set; }
        public int Price { get; set; }
        public DateTime Date { get; set; }

        public virtual CustomerRegistration CustomerRegistration { get; set; }
    }
}
Step 3:
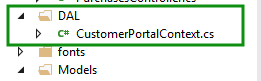
a. Create New Folder in Project DAL. DAL is a short form of Data Access Layer. We will keep the database related class in a folder.
b. Create New Class in DAL Folder CustomerPortalContext.cs and paste the following code.
using System.Data.Entity;
using System.Data.Entity.ModelConfiguration.Conventions;
using CascadeDel.Models;

namespace CascadeDel.DAL
{
    public class CustomerPortalContext : DbContext
    {
        public CustomerPortalContext() : base("CustomerPortalDB")
        {
        }

        protected override void OnModelCreating(DbModelBuilder modelBuilder)
        {
            modelBuilder.Conventions.Remove<PluralizingTableNameConvention>();
        }

        public DbSet<CustomerRegistration> CustomerRegistrations { get; set; }
        public DbSet<Purchase> Purchases { get; set; }
    }
}
Step 4:
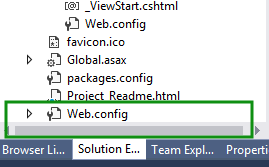
b. Paste the following code before <appSettings> tag.
<connectionStrings>
    <add name="CustomerPortalContext" connectionString="Data Source=.\SQLExpress;Initial Catalog=CustomerPortalDB;Integrated Security=SSPI;" providerName="System.Data.SqlClient"/>
  </connectionStrings>
Step 5:
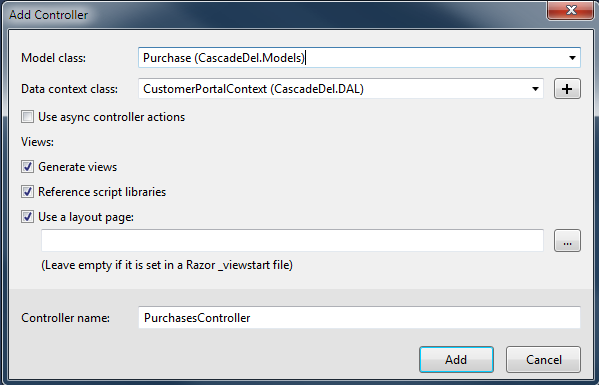
a. Add Scaffolded item for both model CustomerRegistration and Purchase.
b. Right click on Controllers folder Add New Scaffolded Item…
c. Select MVC 5 Controller with views, using Entity Framework and click Add.
CustomerRegistration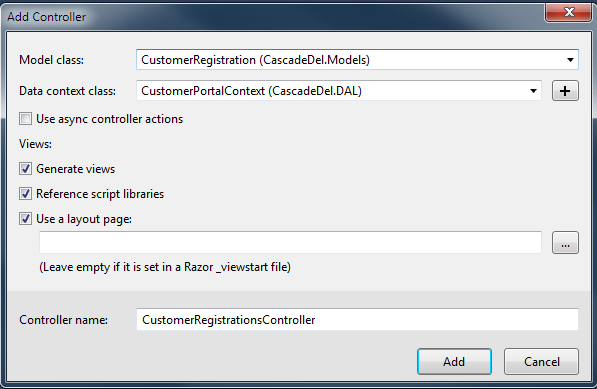
Purchase
Step 6:
a. Go to Solution Explorer and open Views Shared _Layout.cshtml
b. Find and paste following code.
<ul class="nav navbar-nav">
<li>@Html.ActionLink("Home", "Index", "Home")</li>
<li>@Html.ActionLink("About", "About", "Home")</li>
<li>@Html.ActionLink("Contact", "Contact", "Home")</li>
<li>@Html.ActionLink("Registration", "Index", "CustomerRegistrations")</li>
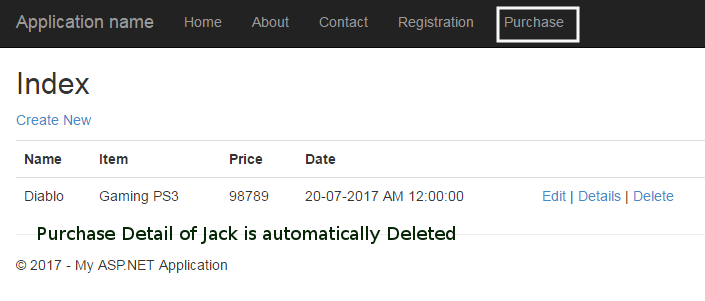
<li>@Html.ActionLink("Purchase", "Index", "Purchases")</li>
</ul>
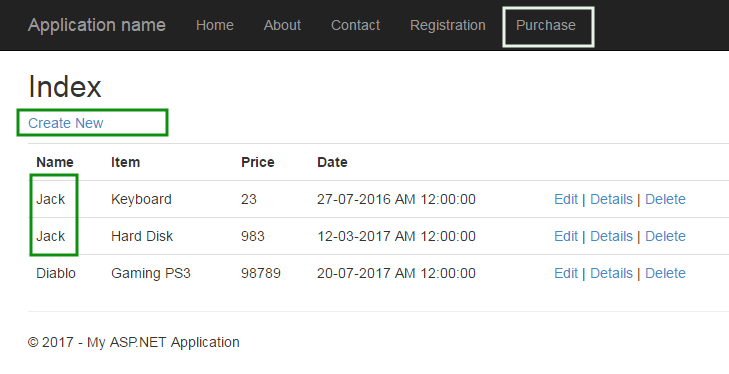
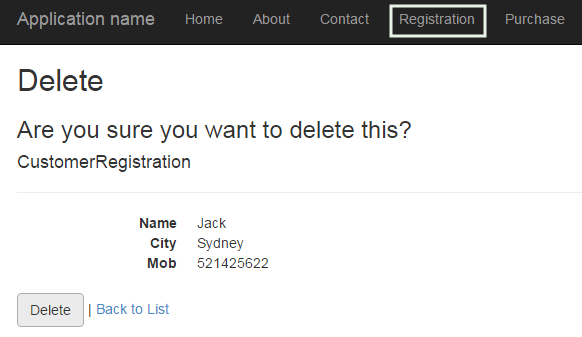
Step 7:You have done everything. Now run your project. Add a Customer and then add some entries in Purchase. Now, when you delete that customer you will notice that all the purchases made by that customer are also gone.
Summary
In this article, you will see that how Cascading Delete works in Entity Framework. Till now, you have noticed that everything is done automatically but sometimes you want to add, update, delete or views entry manually using entity framework. The next article is Manual Insert, Update, Delete and Read using Entity Framework.