1. What is Entity Framework Seed Data Approach?
2. How to Seed Data in Database?
What is Seed Data Approach in Entity Framework?
Sometimes, you may want to insert some dummy data into database table while initialized database. These dummy data might be for the testing purpose. Seed Data Approach lets you insert dummy records into a table. In this tutorial, you will learn Entity Framework Seed Database Approach with easy programming examples
There are some conditions when seeding data to the database. These conditions are:
1. You must check whether or not the target database already exists.
2. If target database exists then current code first model is compared to the model stored in metadata in the existing database.
3. If current model doesn’t match with the existing model then database gets dropped.
4. Then the database is recreated.
Programming Example
The processes are almost same and you have to add only two more steps in order to seed test data into the database.
1. Create Custom DB Initializer2. Override Seed Method
In the given example, you will see a complete example of Seed Database.
Step 1:
1. Open Visual Studio 2015 File New Project.
2. Select Web in Left Pane and then Select ASP.NET Web Application (.NET Framework). Give Project Name SeedDemo and click OK.
3. Select MVC template and change authentication into No Authentication and click OK.
Start A New ASP.NET Web Application (.NET Framework) Project
Step 2:
Install Entity framework in your project. It is very easy and here is a detailed guide to how to install EF.
1. Go to Solution Explorer. Right click on your project name SeedDemo and select Manage NuGet Packages…
2. Go to Browse and Find Entity Framework. Click Install button to install it.
install Entity Framework 6 Step by Step Guide
Step 3:
1. Right Click on Model Folder Add Class.
2. Create a class Profile.cs and paste following code in it.
using System;
using System.Collections.Generic;
using System.Linq;
using System.Web;

namespace SeedDemo.Models
{
    public class Profile
    {
        public int ID { get; set; }
        public string Name { get; set; }
        public int Age { get; set; }
        public string MobNo { get; set; }
    }
}
Step 4:
ProfileContext.cs class.1. Right click on Model Folder and add a class named ProfileContext.cs
2. Add the following code in it.
using System;
using System.Collections.Generic;
using System.Linq;
using System.Web;
using System.Data.Entity;
namespace SeedDemo.Models
{
public class ProfileContext : DbContext
{
public ProfileContext() : base("ProfileDatabase")
{
//Calling Custom DB Initializer
Database.SetInitializer<ProfileContext>(new ProfileInitializer<ProfileContext>());
}
public DbSet<Profile> prfl { get; set; }
//Creating Custom DB Initializer
private class ProfileInitializer<T> : DropCreateDatabaseIfModelChanges<ProfileContext>
{
protected override void Seed(ProfileContext context)
{
IList<Profile> list = new List<Profile>();
//Adding Row
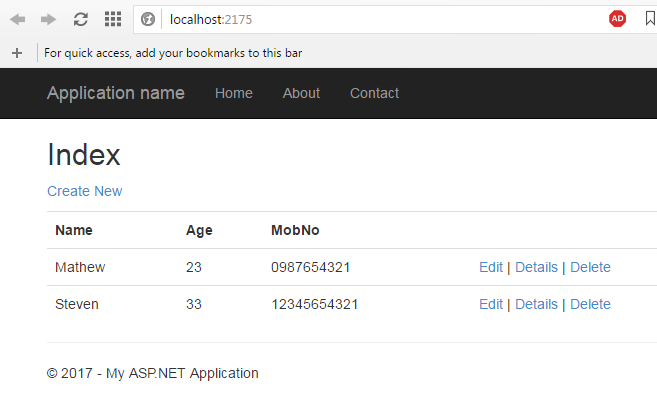
list.Add(new Profile() {Name="Mathew", Age=23, MobNo="0987654321"});
list.Add(new Profile() {Name="Steven", Age=33, MobNo="2345654321"});
foreach (Profile pf in list)
context.prfl.Add(pf);
base.Seed(context);
}
}
}
}
Press Ctrl + Shift + B to build this project.
Step 5:
Congratulations. You have done everything. Now it’s time to see your output. Add Scaffolded Item for your controller and run your project.
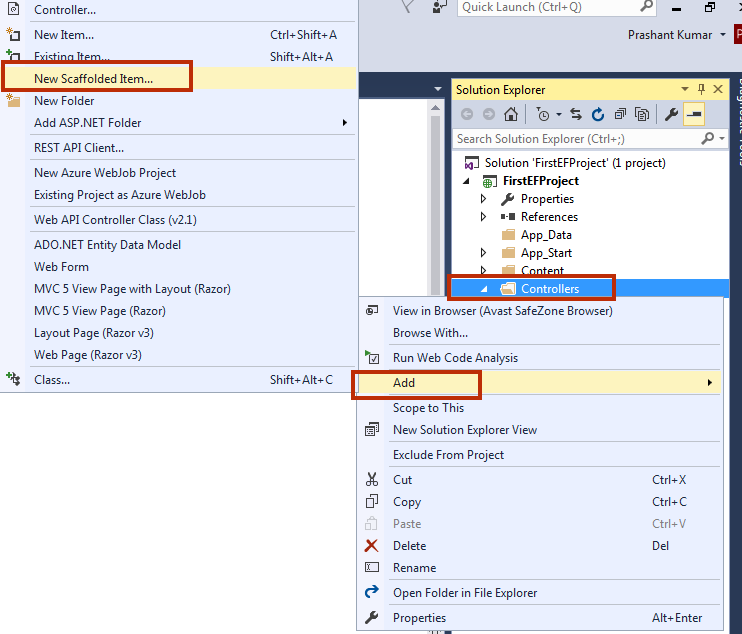
1. Right click on Controller Folder Add New Scaffolded Item.
2. Select MVC5 Controller with views, using Entity Framework and click Add button.
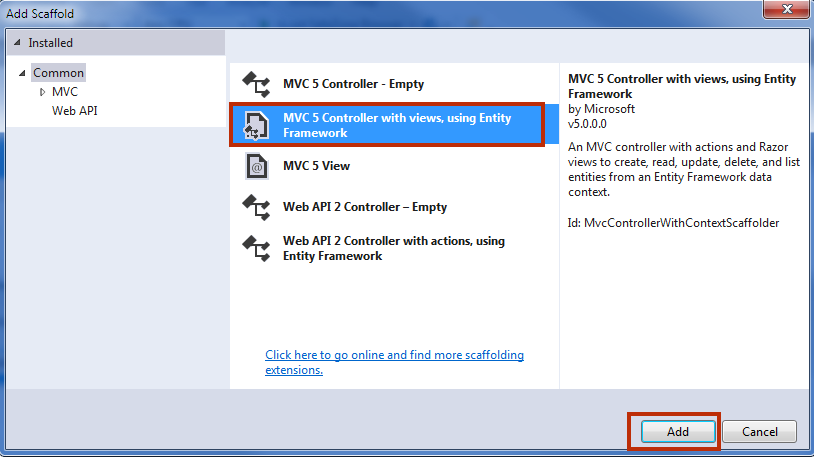
3. Select item like this
b. Data context class: ProfileContext (SeedDemo.Models)
c. Controller Name: ProfilesController

4. Click Add button.
Step 6:
Set ProfilesController as default home page.
1. Go to Solution Explorer App_Start RouteConfig.cs
2. Here, change Home controller into Profiles.
using System.Web.Mvc;
using System.Web.Routing;

namespace SeedDemo
{
    public class RouteConfig
    {
        public static void RegisterRoutes(RouteCollection routes)
        {
            routes.IgnoreRoute("{resource}.axd/{*pathInfo}");

            routes.MapRoute(
                name: "Default",
                url: "{controller}/{action}/{id}",
                //defaults: new { controller = "Home", action = "Index", id = UrlParameter.Optional }
                defaults: new { controller = "Profiles", action = "Index", id = UrlParameter.Optional }
            );
        }
    }
}
3. Press F5 to run your Project.
Summary
In this tutorial, you learn how to Code First Sees Database with complete programming example. There are only 6 steps from start to end and you can easily test this project on your PC.