1. How to Add a Model class in ASP.NET MVC 5 Project
2. How to Access Model Data in View using Controller
3. Complete Programming Example
Adding a Model
I have opened my existing project CompShop for adding a model. If you haven't created CompShop application earlier, then don’t worry and create a new MVC 5 Project with your preferred name.
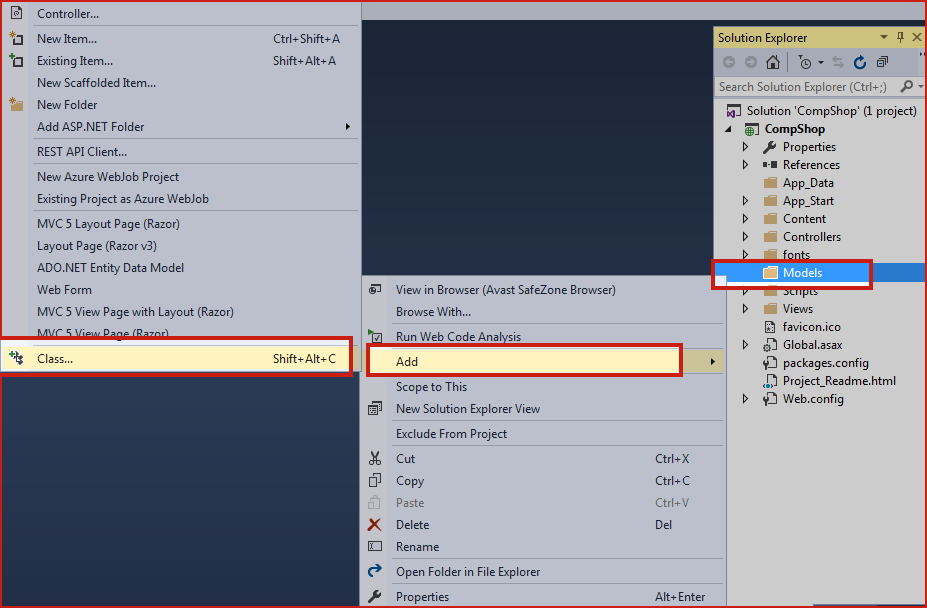
ItemList.cs and click on Add button.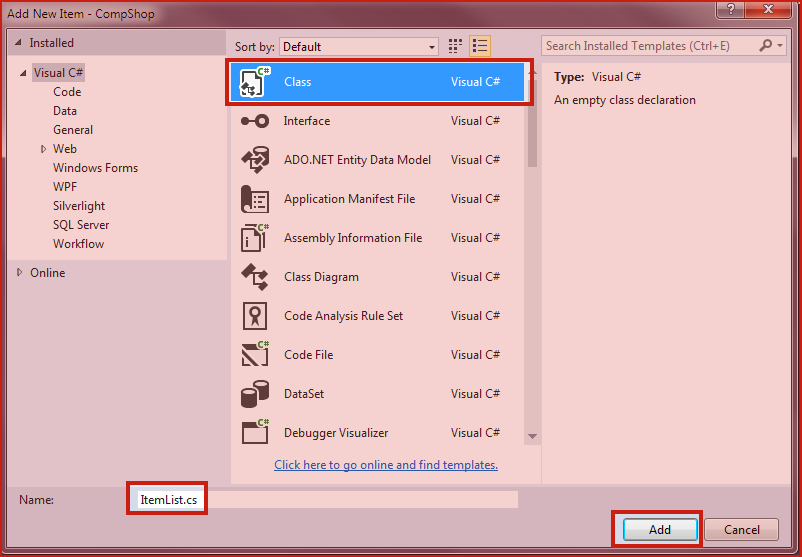
ItemList.cs class.using System;
namespace CompShop.Models
{
public class ItemList
{
public int ID { get; set; }
public string Name { get; set; }
public string Category { get; set; }
public decimal Price { get; set; }
}
}
Let’s take a moment to understand this code
Here, This class will be mapped to database as follows:
- Class name ItemList will be your table name in the database.
- Each member of this class like
ID, Name, Category, andPricewill be mapped with Table Column with the same name. - The datatype of this property will be the datatype of the column in the table.
Now, you must be thinking that where is a database and where is connection string? Your answer is in the next chapter. Here, I am using the simple model class without database and entity framework. My motive is to teach you everything but step by step. In the next chapter you will surely learn Database part and Entity Framework but here only focus on how models work.
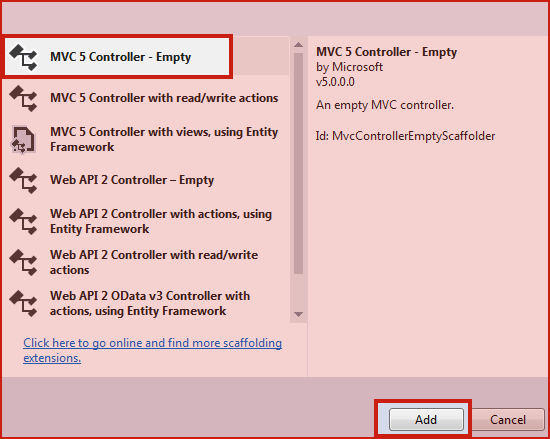
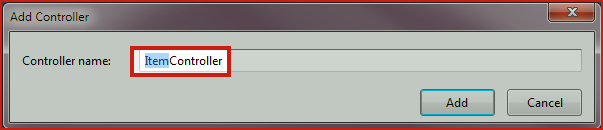
ItemController.cs. Right click on Controllers Add Controller…
ItemController.cs and add the following code.using System.Collections.Generic;
using System.Web.Mvc;
using CompShop.Models;
namespace CompShop.Controllers
{
public class ItemController : Controller
{
// GET: Item
public ActionResult Index()
{
ViewBag.ItemList = "Computer Shop Item List Page";
List<ItemList> IList = new List<ItemList>()
{
new ItemList {ID=1, Name="iPhone", Category="Mobile", Price=2393 },
new ItemList {ID=2, Name="HardDisk", Category="Computer", Price=9399 },
new ItemList {ID=3, Name="Mouse", Category="Computer", Price=120 },
new ItemList {ID=4, Name="Samsung Note3", Category="Mobile", Price=9348 }
};
return View(IList);
}
}
}
Let’s take a moment to understand this code.
Here, in this code, I have hardcoded the data so that this data can be used in views. Because I am not using the database here so I have added the data manually to models.
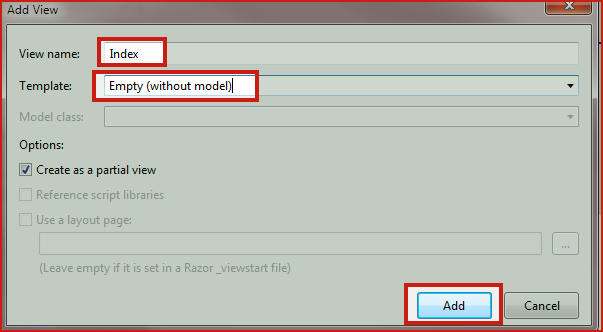
Index() Action method and click on Add view. Give View Name: Index and click on Add button.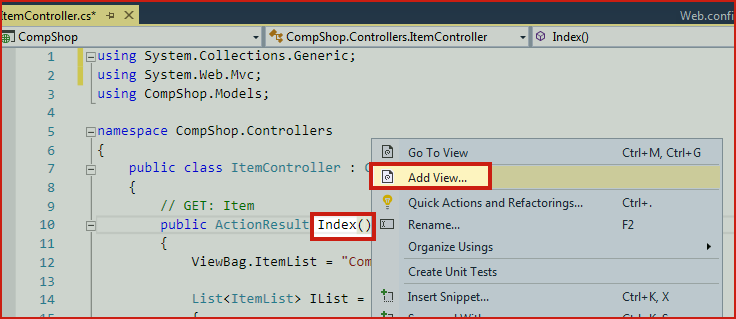
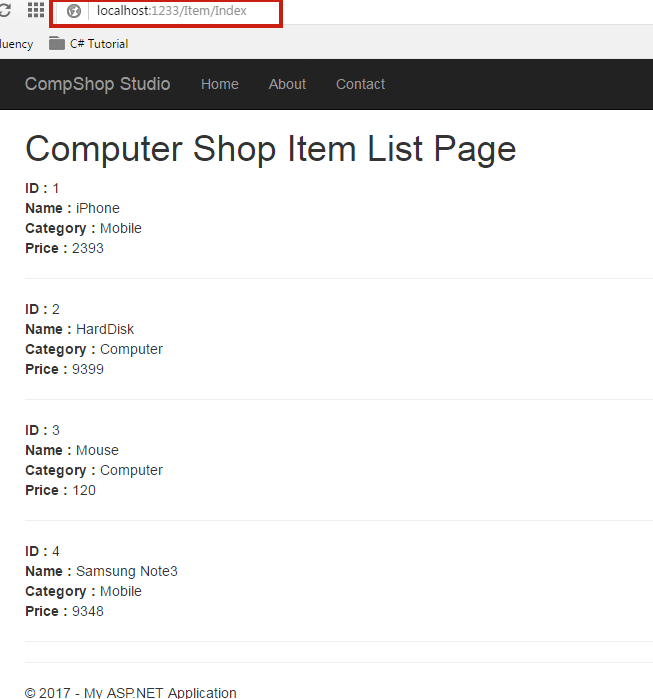
@foreach (var i in Model)
{
<h1>@ViewBag.ItemList</h1>
    <b>ID : </b> @i.ID <br />
    <b>Name : </b> @i.Name <br />
    <b>Category : </b> @i.Category <br />
    <b>Price : </b> @i.Price <br />
    <hr />
}
Summary
In this chapter, you learned how to add model and access model data in view pages. In the next chapter, we will discuss more clearly about Models and will show you an example of the database. We will create a database, tables and add some data to it then will access these data using models. So, don’t skip the next chapter How to Access Data using Models from Database asp.net mvc5.